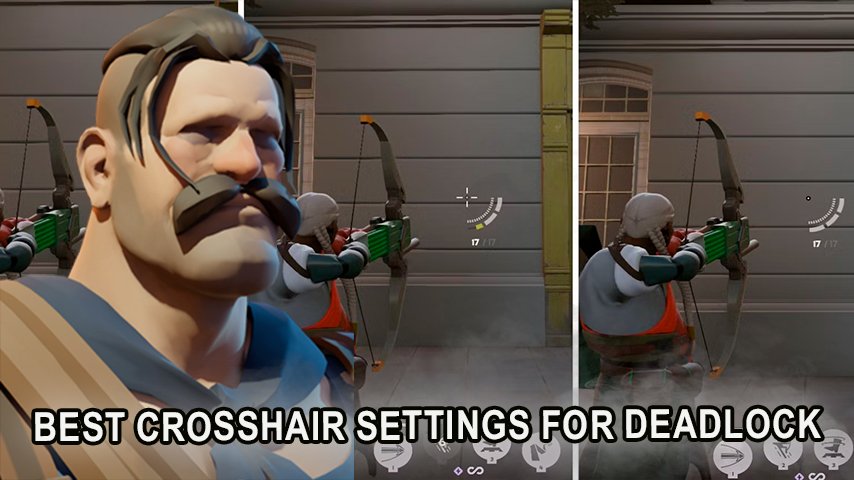
Master Your Aim: Best Crosshair Settings for Deadlock Players
Author: Hawk Live LLC
Last updated:
Valve recently launched its latest MOBA shooter Deadlock, and its 6v6 team-based approach seems to have taken the gaming world by storm. Currently, the game has a growing number of players even though it is still under construction. It seems that it will be a big hit for Valve. Similar to many other competitive shooters, the appearance of the crosshair is critical for a player’s better performance, and Deadlock has a plethora of options to adjust this feature.
So, in this guide, we are going to take a look at the crosshair configuration in Deadlock and how players can configure their crosshairs to meet their playstyle. For those who prefer bulkier designs or like a minimalistic one, customizing the crosshair will greatly help your accuracy and change the way you play for the better.
Why Customizing Your Crosshair is Important
Deadlock has at its core the dependency on crosshairs which means Deadlock gives players the option to fully customize this game aspect. Crosshair use if well chosen and designed has proven to boost effective visibility, cutting distractions and leading to enhanced shooting accuracy, however, poorly chosen crosshairs can lead to difficulties in targeting foes and get lost in the heat of battle which greatly lowers one’s effectiveness.
Customization is key because each player has their own way of viewing an in-game style. Some players may use a dot crosshair that is simple, some may stick thicker ones that are more apparent within an aim view.
How to Customize Your Crosshair in Deadlock
 Credit: Valve Corporation
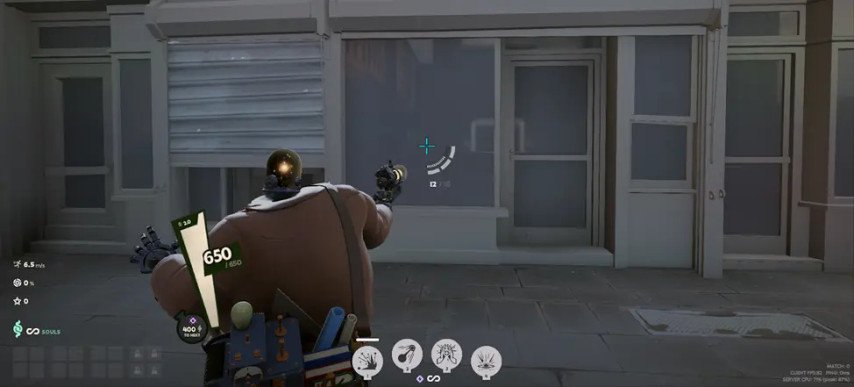
Deadlock has several options built into the game’s settings that allow players to modify their crosshairs. Here is what you need to do to adjust your crosshair:
Load into the game, upon entering the main menu look for a “Settings” gear icon, and click it.
Use Manual Settings – Reticle Settings as a stairway to alter your crosshairs.
Lastly, make any required adjustments to the instructions below:
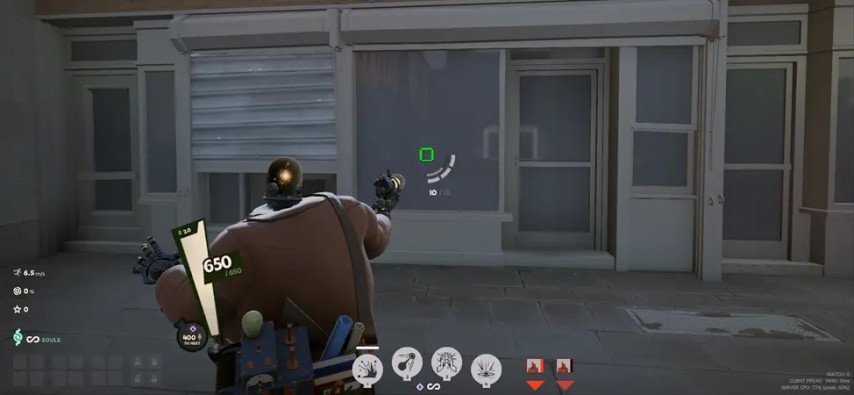
Gap: The distance between the crosshair and the center piece.
Width: Determines the width of the crosshair.
Height: Determines the height of the crosshair.
Pip Opacity: Determines the visibility of the crosshair.
Dot Opacity: Visibility of the central dot if it’s applied.
Color: Makes it possible to select a color for the crosshair through Red, Green, and Blue format.
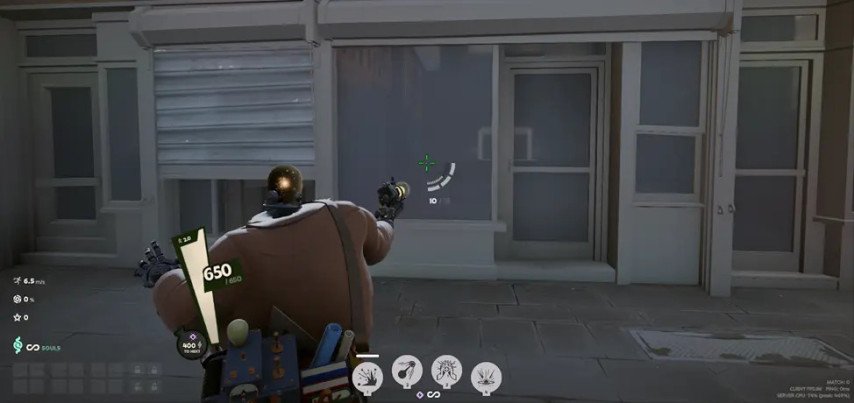
These in-game changes can be beneficial as these allow gamers to easily aim, track the enemies, and, focus during important game parts.
Recommended Crosshair Settings for Deadlock
The following section will cover players friendly crosshair setups which can vary according to a player’s style and preferences.
1. Minimalist Dot Crosshair
Option | Setting |
|---|---|
Gap | 0 |
Width | 2 |
Height | 2 |
Pip Opacity | 0 |
Dot Opacity | 1.00 |
Dot Outline Opacity | 1.00 |
Color | 0, 255, 255 |
 Credit: Valve Corporation
This configuration is ideal for players’ preferences where they want to place their aims and not focus on their scope more irretrievably. The scope consists of a simple dot situated at the nonlinear center of the screen depicting game space area in a way that is not seen blocking by visual scopes.
2. Solid Crosshair
Option | Setting |
|---|---|
Gap | 0 |
Width | 4 |
Height | 16 |
Pip Opacity | 1 |
Dot Opacity | 0 |
Dot Outline Opacity | 0 |
Color | 0, 255, 255 |
 Credit: Valve Corporation
For players that require a crosshair that does not diminish their visibility this option lets them utilize thicker outlines that makes aiming a lot better.
3. Square Crosshair
Option | Setting |
|---|---|
Gap | 1 |
Width | 25 |
Height | 5 |
Pip Opacity | 1 |
Dot Opacity | 1 |
Dot Outline Opacity | 0 |
Color | 0, 255, 0 |
 Credit: Valve Corporation
Players who are more inclined towards using geometric designs should definitely give this crosshair a try. The square crosshair is an interesting shape making it easier for you to devote more attention on pointers instead section of your scope.
4. Thin Crosshair
Option | Setting |
|---|---|
Gap | 1 |
Width | 3 |
Height | 12 |
Pip Opacity | 1 |
Dot Opacity | 1 |
Dot Outline Opacity | 0 |
Color | 0, 255, 0 |
 Credit: Valve Corporation
In thin crosshair, players focusing on aiming at enemies rather than the crosshair will be able to do so with ease, this is because the thin crosshair has a feature of sleek narrow lines that is perfect for players who don’t want excessive distractions while targeting enemies.
How to Test and Adjust Your Crosshair
While there are many possibilities to create your crosshair in the game Deadlock provides the best option to practically test different combinations you have created and found effective. They could also use third party tools like the Deadlock Crosshair Generator to test settings without jumping into the game. While the game allows players to alter these settings on the plunge there is no preview option that is available currently in the deadlock menus.
If you’re ever wishing to go back to the original settings of the crosshair then Deadlock has a reset to default button making the wish easy to achieve any changes made will be removed.
Conclusion
For every Deadlock player, crosshair customization is an important feature that needs to be used in order to be able to perform better in game. Altering the crosshair’s gap, width, height or color can help a player in altering the aiming reticle to their liking and improving the overall gaming experience. The key point is to try out different settings, and thanks to Deadlock’s adaptive system, you can quickly find the right crosshair or several that will suit you.