How to Play Valorant on Mac: Complete Installing Guide
Author: Hawk Live LLC
Last updated:

Valorant, the tactical shooter from Riot Games, has come to acquire a large following globally. However, a drawback is that Mac users may have difficulties since the game is only officially supported on Windows. So how can one play Valorant on their Mac? The solution is to install Windows via BootCamp.
How to Play Valorant on Mac: Installing Windows
Step 1: Check Secure Boot Settings
Most importantly, make sure that before Windows installation, your Secure Boot settings are on point. By default, Mac’s Secure Boot is set to "Full Security", But in case you have made alterations to that, it’s advisable to restore back to the original settings. This post by Apple explains in a very simple language how to perform the changes necessary for correct Secure Boot settings.
 Credit: Apple Support
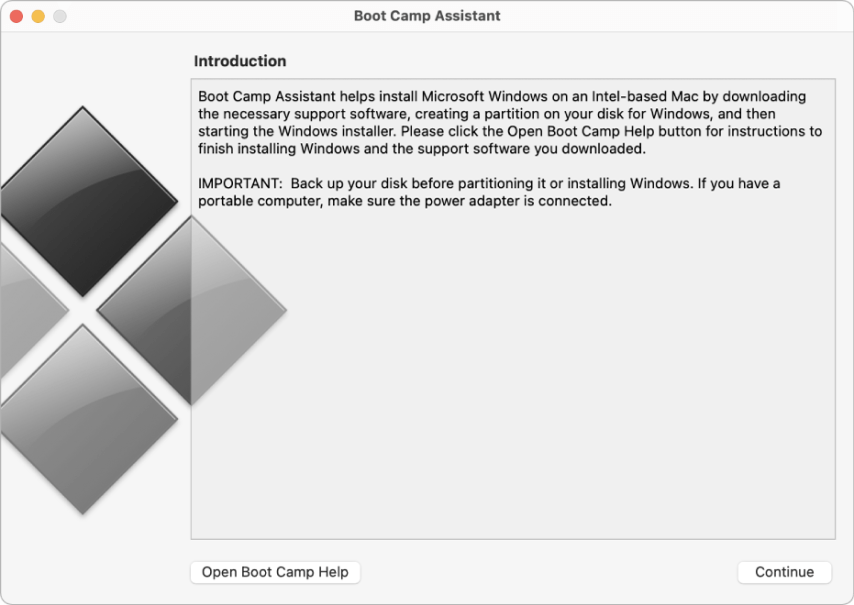
Step 2: Launch Boot Camp and Make a Windows Partition
First, browse for Boot Camp assistant in Applications > Utilities. This program would help you allocate a portion of your hard disk specifically for Windows. If prompted make sure to insert a USB flash drive which Boot Camp Assistant will use to make a bootable installer for Windows. When partitioning the disk remember to make it big enough to meet the games requirement.
 Credit: Apple Support
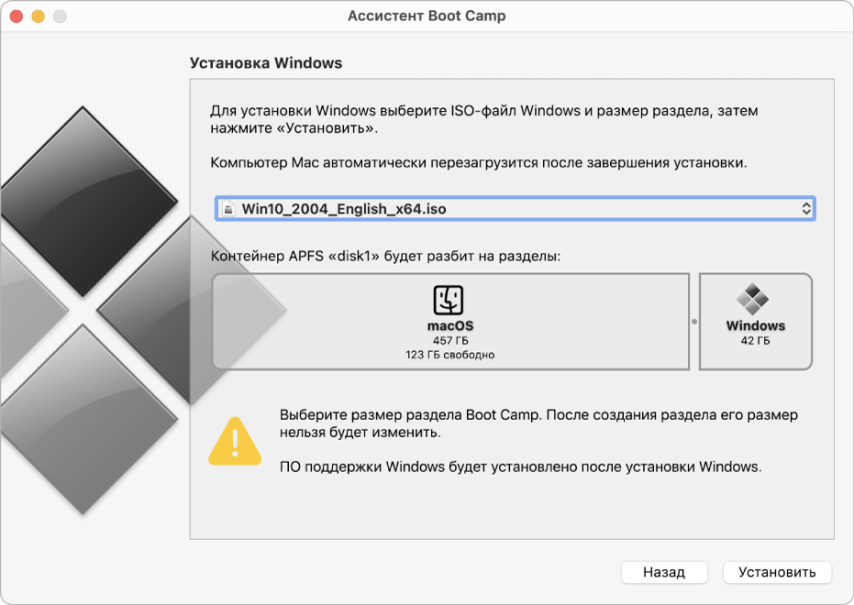
Step 3: Format the Windows (BOOTCAMP) Partition
Upon completion of your Boot Camp Assistant process, your Mac would restart and commence with the procession of installing Windows. In the course of installation, you are prompted to choose the BOOTCAMP partition where Windows is being installed, if need be, format it.
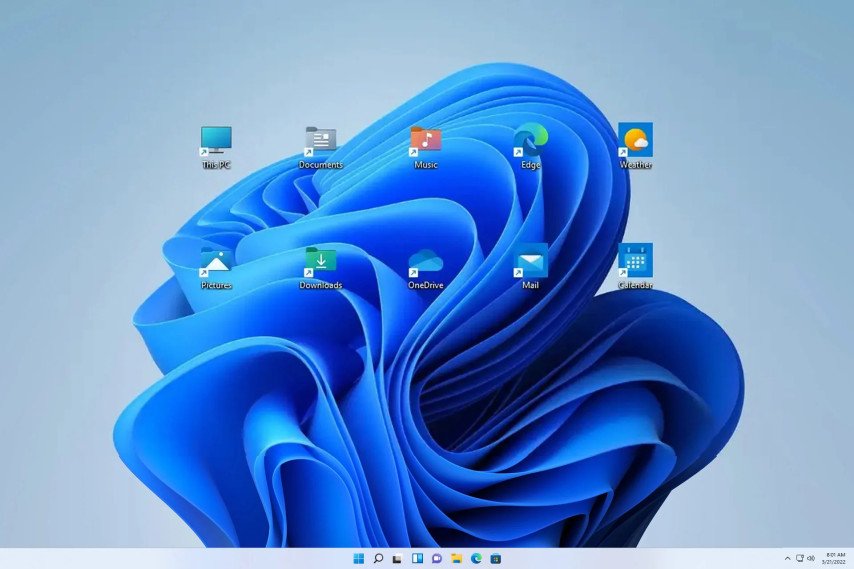
Step 4: Install Windows
Before you begin your endeavor of installation make sure to turn off any unneeded external devices connected to your system. The windows installer provides installation information which can be availed by clicking next. Once installation is performed on your Mac it automatically runs Windows.
 Credit: Microsoft Corporation
Step 5: Install Boot Camp Drivers
As your Mac begins to start for the first time and without the need of having Windows tools enabled, Boot camp will appear, simply click next and proceed to ensuring the installation of all required drivers and Windows tools that facilitate optimum performance to be done in a matter of seconds and simple actions. End this process by restarting your system.
Valorant system requirements
Do not forget that in order to run valorant on windows, mac user will have to ensure that the system requirements for the game are met, be it minimum or recommended.
Requirements | Minimum | Recommended |
|---|---|---|
Operating System | Windows 7/8/10 (64-bit) | Windows 10/11 (64-bit) |
Processor | Intel Core 2 Duo E8400 | Intel i3-4150 |
RAM | 4 GB | 8 GB |
Graphics Card | Intel HD 3000 | GeForce GT 730 |
Storage Space | 20 GB | 20 GB |
DirectX | Version 11 | Version 11 |
How to Switch Between Windows and macOS
In order to switch in between operating systems you need to reboot your Mac, while booting hold down the ‘option’ (alt) key. This will cause a menu to come up that allows you to select Windows or Mac OS.
Conclusion
The time that we have been all waiting for has finally arrived. You are now able to install Windows on your Mac with the aid of Boot Camp and this way you are able to play the world of Valorant with all of its parts for Mac users, Free of Charge. So as we have so here, our final words are for you to take our instructions and use them wisely, you will need an additional account for Riot Games to be able to start using Valorant.
Unlike Valorant, which requires Windows installation via Boot Camp, Dota 2 is fully supported on macOS and can be played without extra steps. If you're looking for an easy way to enjoy a competitive multiplayer experience on your Mac, check out our guide on how to install and optimize Dota 2 for the best performance.