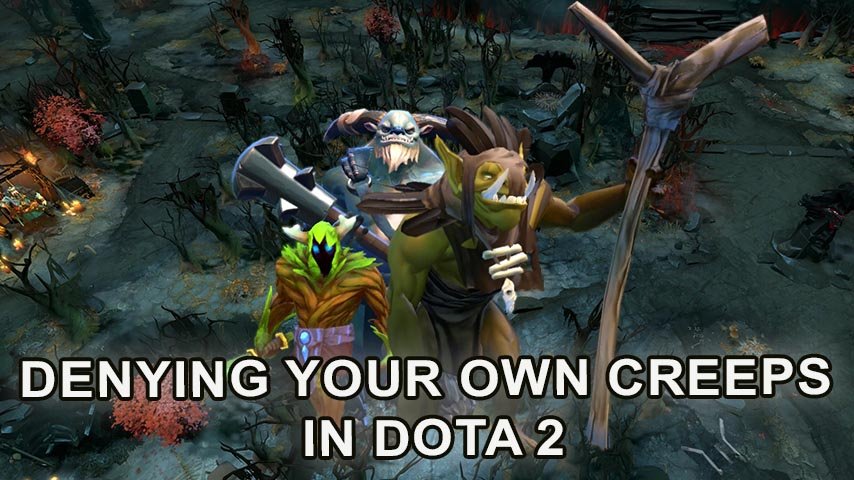
Your Ultimate Guide to denying Your Own Creeps in Dota 2
Author: Hawk Live LLC
Last updated:
Creep denying, or killing your own creeps, is a basic game mechanic in Dota 2 that can affect the course of the game. By learning this technique you would be giving yourself an upper hand in the laning phase by denying enemy a crucial experience and gold. This guide will provide you with an understanding of deny creeps from basics to advanced tactics.
Why is Denying Your Own Creeps Important?
 Credit: Valve Corporation
Within Dota 2, creeps play major roles in giving heroes gold and experience. The resources available for your opponents can be reduced by denying your creeps i.e. killing them first hand so that they cannot get them. A denied creep takes away these resources from the enemy as well as providing some portion of experience it was supposed to have.
How to Kill Your Own Creeps
 Credit: Valve Corporation
The first thing you need to do when you want to deny your own creep is wait until their health goes below half (50%). When a creep’s health reaches less than half (50%), it means you can attack it through attack command so that it dies. By default, pressing “A” key then left clicking on your creep will perform this action; remember, just right clicking on your creep does not work; first issue the attack command.
How to Bind Keys for Efficient Creep Denying
The role played by key bindings in Dota 2 especially when efficient creep denying is concerned cannot be ignored. You can simplify and make the process more efficient by binding deny action into specific binding keys. In order to accomplish this task, proceed with dota 2 menu setting after opening settings menu located on steam client.
 Credit: Valve Corporation
Then we are going to bind our attack hotkey: Go hotkeys menu -> Attack Move/Force Attack->Bind whatever button needed
 Credit: Valve Corporation
Afterwards start denying your creeps using right mouse button. To find out how simply go Option-> Right Click Allies-> To Deny; once you do this all what remains is easy to kill the enemy creeps. Just right click on them or press the right mouse button.
 Credit: Valve Corporation
Remember, practice makes perfect. Regularly practicing these techniques in your games will help you get better at denying creeps and give you a significant advantage over your opponents.
Creep Denial Using Console Commands
 Credit: Valve Corporation
Even creep denial can be enhanced using console in Dota 2. However, you should keep in mind that controlling through the console will require some practice before you get used to it. In this section we will see how one can use console commands for creep denying.
Firstly, enable your console within Dota 2. Go to “Settings” -> “Options” -> “Advanced” and tick the box for “Enable Developer Console”.
Then press the key assigned for this purpose usually (‘`’ or ‘~’) to open up console once it is activated. While opened you are able to write orders.
Although there are several commands that may be used for creep denial, they mostly involve attack settings change. Here are some of the directives:
dota_force_right_click_attack 1: This command allows you to attack your own creeps by simply right-clicking on them, rather than having to press the "A" key and then click. This simplifies the creep denial process, making it faster and more efficient.
dota_health_per_vertical_marker X: This command changes the amount of health that each green bar on a creep's health bar represents. Replace "X" with the number that corresponds to the amount of health you want to use as a marker. For example, if you set X to 50, then each bar will correspond to 50 health. This will allow you to better assess when a creep is weak enough for you to deny it.
It's important to note that changing these settings might require some time to get used to, and you still need to assess the creeps' health state to successfully deny them. But with practice, you will become more efficient in this process and be able to gain an edge over your opponents.
Now that you know how to use console commands for creep denial, you can start experimenting with them and see how they improve your gameplay.
What creeps can be killed?
Aside from couriers, all creatures except heroes (including creep-heroes) could be destroyed once their life drops below 50%. If an ally controlled by player is killed (e.g., lane creeps not controlled by players), enemies within a radius of 1500 units will get only 40% experience instead of regular experience which would have been given out if that hero was killed directly. Killing someone else’s unit does not allow enemies get experience for its destruction while granting no rewards towards team who finished him.
Creep denying is an important aspect in Dota 2 that determines how well firstly stage develops leading up to most games recently played. Recognizing the value of denying one’s own creeps, understanding different types of creeps, mastering basics and advanced techniques as creep blocking and stacking is significant for any Dota 2 player seeking to improve their game. Now you can use these strategies and tactics in your games to win the laning stage!